
| Touch Time: 15 min |
| Cook Time: 45 min |
| Resting Time: 10-36 hours |
| Total Time: 11 – 37 hours |
| Servings: 1 loaf |
Cookware Needed:
- Food scale
- Mixing bowl or stand mixer
- Banneton bowl (or round bowl with cotton lining and cover)
- Dutch oven or bread oven
- Parchment paper
Grocery List:
- 150g – Active sourdough starter
- 300g – Warm water
- 450g – Bread Flour
- 10g – salt
- 1 – pinch of extra flour for dusting the banneton bowl.
Recipe:
- In a mixing bowl or stand mixer, combine the warm water and sourdough starter and mix thoroughly.
- I prefer to mix in the stainless steel KitchenAid mixer bowl, but use a silicone spatula for steps 1 and 2 before putting the bowl on the mixer. Bonus points if you have a Danish bread whisk, but we’re keeping this beginner-friendly.
- Add in the flour and salt, and mix until a shaggy dough forms. Cover the bowl with a towel and wait about an hour before touching it again. This will allow the flour to hydrate.
- With the dough hook, mix on level 1 for about 30 seconds to a minute or until the dough easily pulls away from the sides. If not using a KitchenAid mixer, do some pinch-and-folds or slap-and-folds to develop gluten. Repeat this every 30-60 minutes for a total of four times.
- Lightly flour your banneton bowl.
- Note: If you don’t have a banneton bowl, just use a cotton towel to line a regular bowl.
- Optionally, shape your dough.
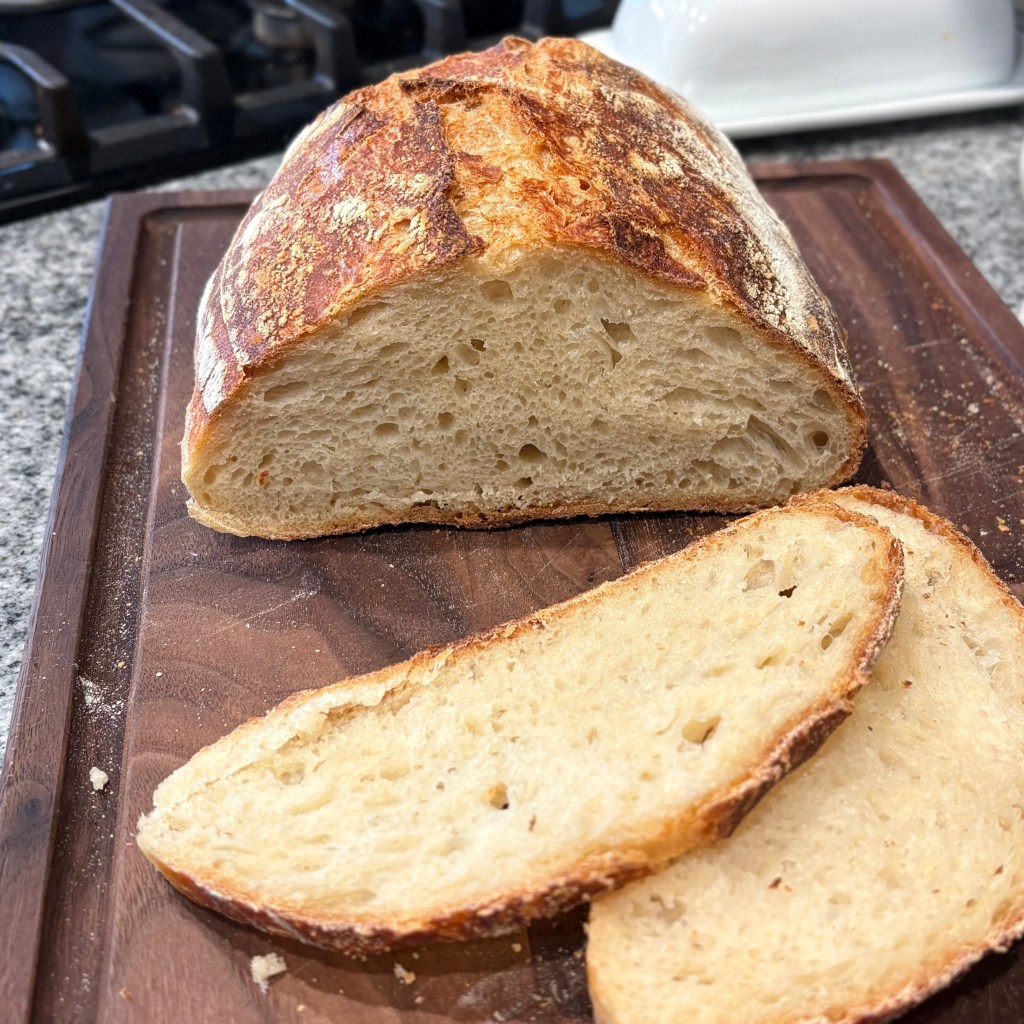
- Note: Shaping dough will help build tension in the loaf and yield a better rise. YouTube has lots of great resources for shaping a circular loaf (boule) or an oval loaf (batard). The loaf I baked for the picture above was unshaped and still rose plenty for us.
- Place your dough in the banneton bowl and cover. Move to the fridge for cold proofing. Allow the dough to stay in the fridge for 6-36 hours. We will remove it just before baking.
- When you’re ready to bake a loaf, place your Dutch oven or bread oven into the oven and preheat to 500°F. Allow the Dutch oven to preheat for about half an hour. During this time, grab a piece of parchment paper long enough to sit under the entire loaf, with some sticking up on the sides for later use as a handle.
- Transfer the dough from the fridge to the parchment paper and score the top with a sharp knife.
- One long cut across the top is fine, but you can get fancy with it, too.
- Remove the preheated Dutch oven from the oven and quickly transfer the loaf to the parchment paper, and place the cover back on. You can immediately lower your oven to 450°F and bake with the cover on for 25 minutes.
- Be careful! The Dutch oven will be very hot
- Remove the cover and bake for an additional 15-25 minutes or until the crust is your desired color.
- Allow the loaf to cool for an hour before slicing.
Notes:
- Note that the starter, water, and flour ratio is 1:2:3; this can be scaled up or down, just adjust your bake time.
- Allowing the loaf to cool for an hour before cutting into it will make it easier to slice.
- If the crust is too crispy, try storing your loaf in a beeswax-lined bread bag for a few hours. This is a good way to store the loaf anyway.
- Below is a picture of the bread oven I use:

